How To Build a Deck Around a Pool
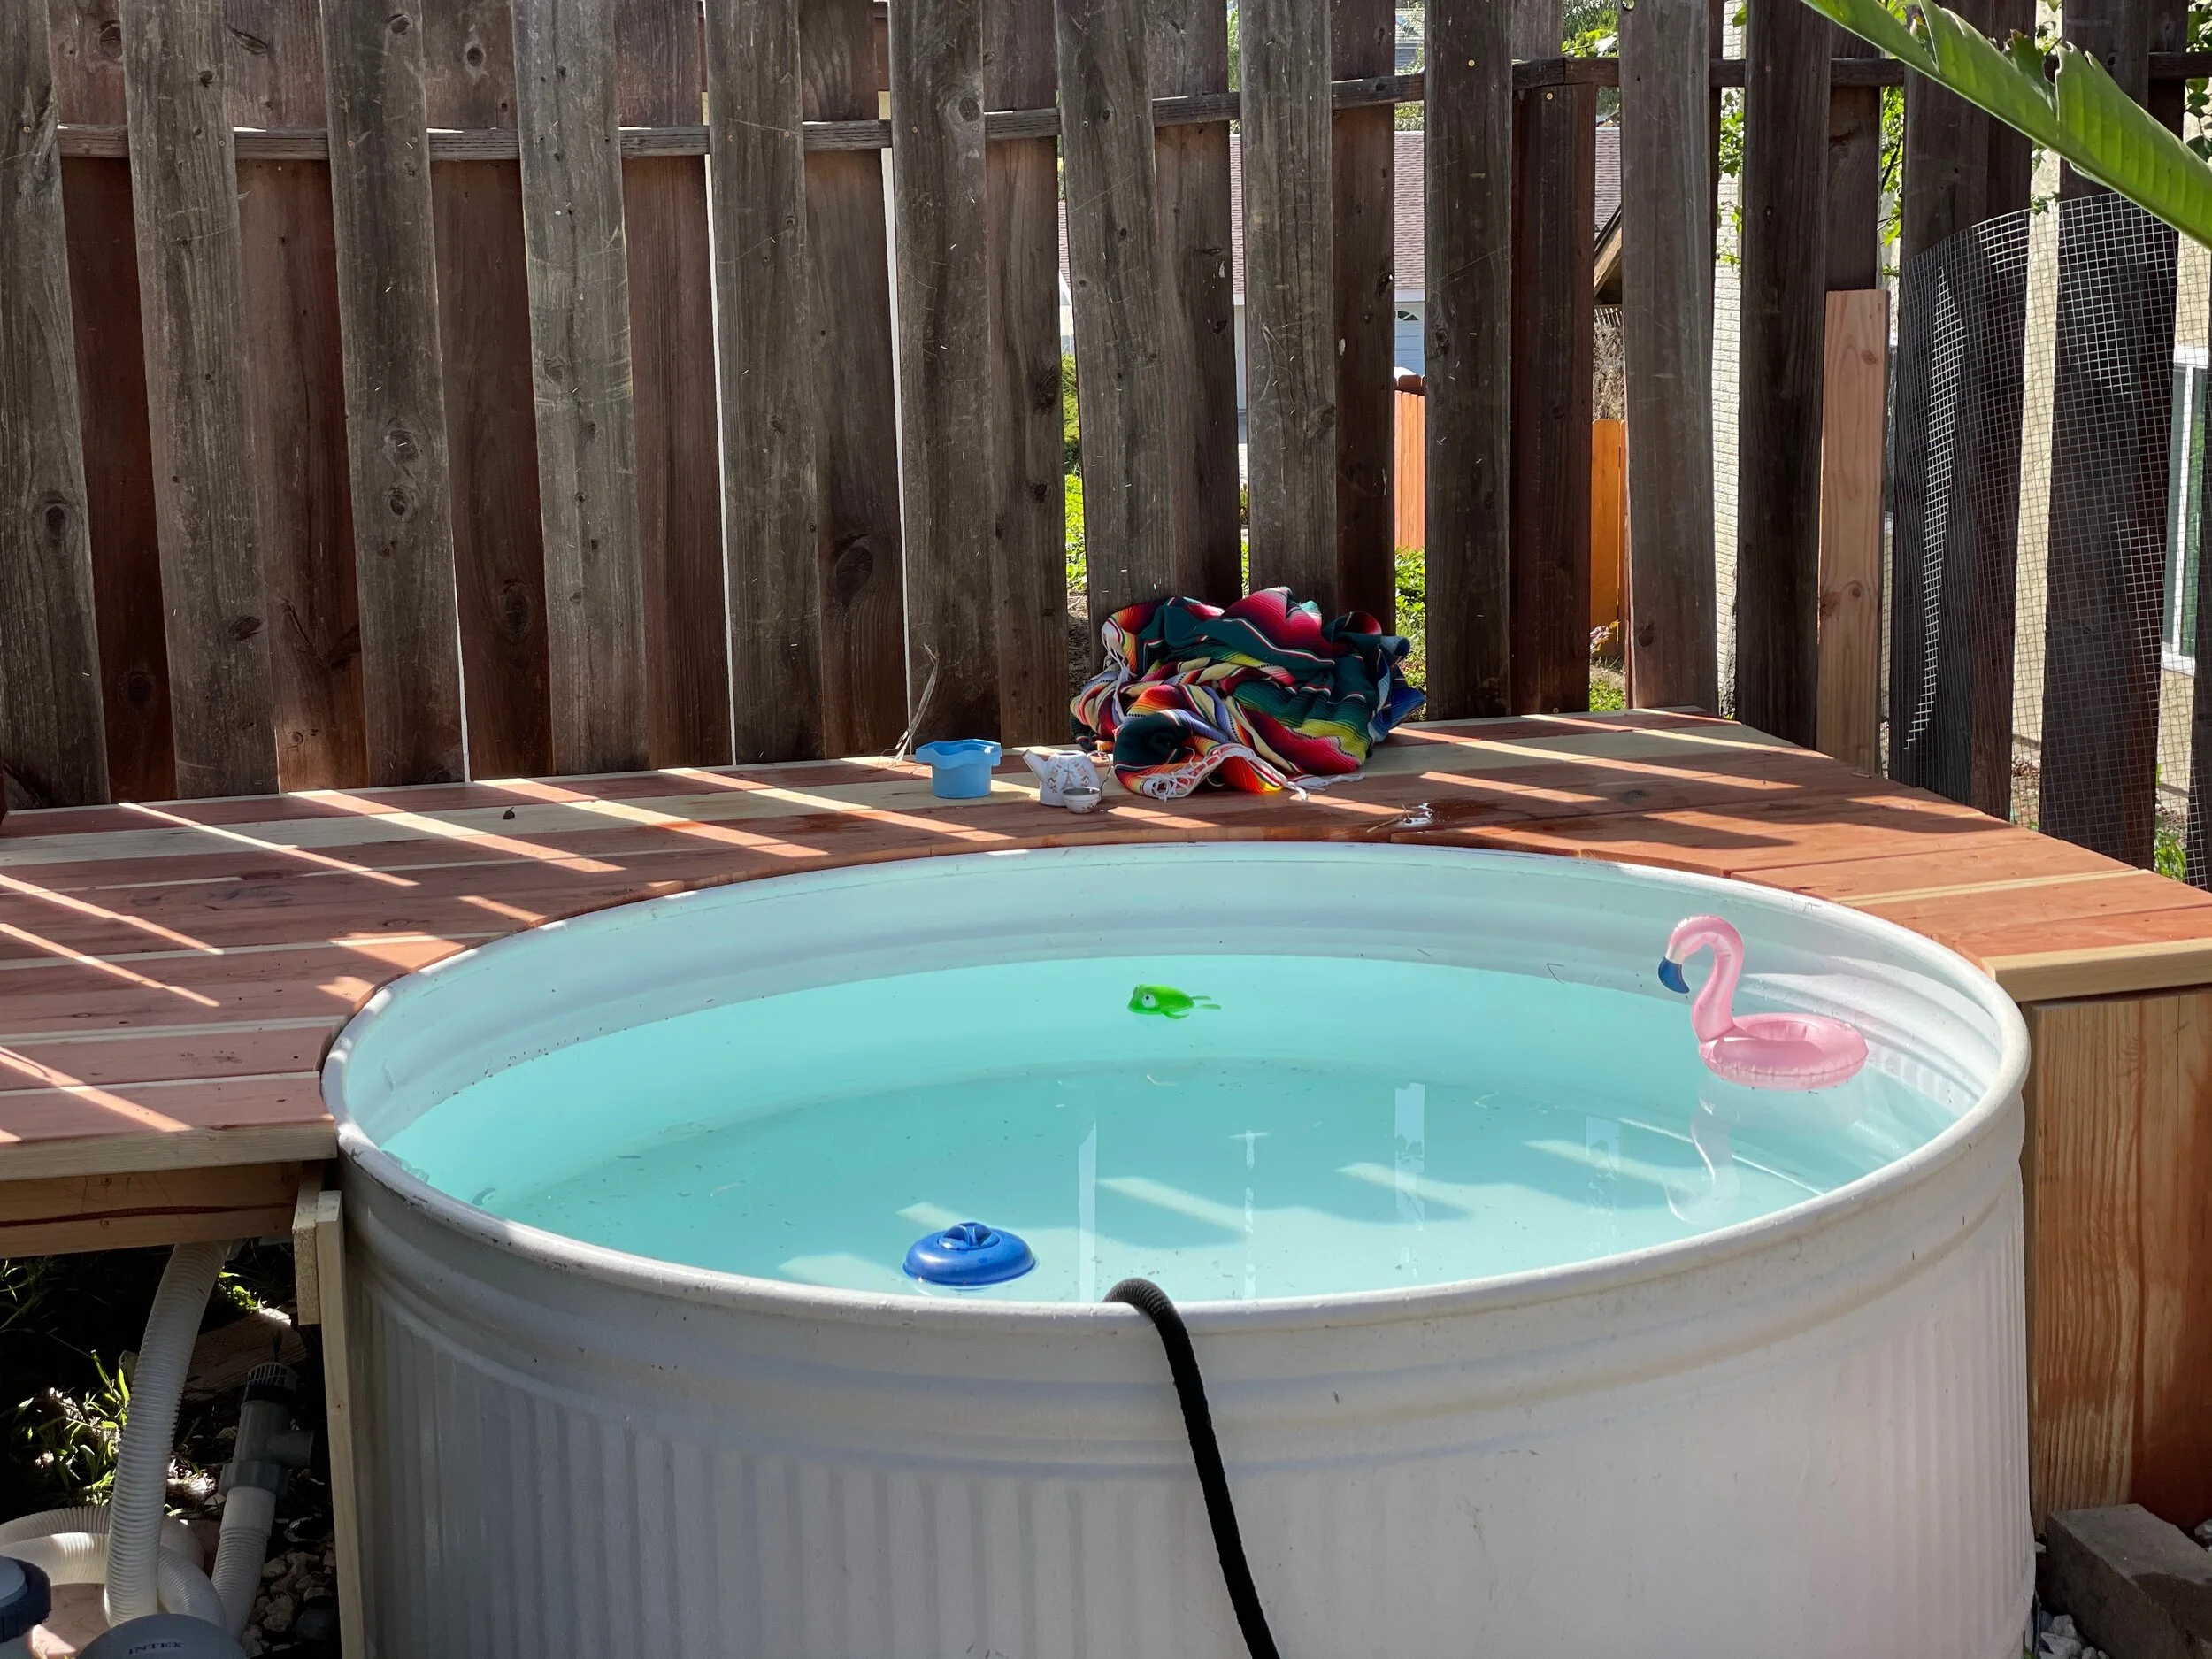
Building a deck around our pool was a lot easier than I originally thought. This took me about four days to finish, Including going back and adding extra support. This was my very first deck, well really my first structure I ever built so it had a lot of errors. It all started with an idea and ended with a beautiful deck for me to lay out and get some sun while the babe swims.
**** Full Disclaimer**** I am not a professional builder and recommend you follow guidelines correctly especially if multiple adults or big kids will be walking on it. This worked for us and what we needed it for.
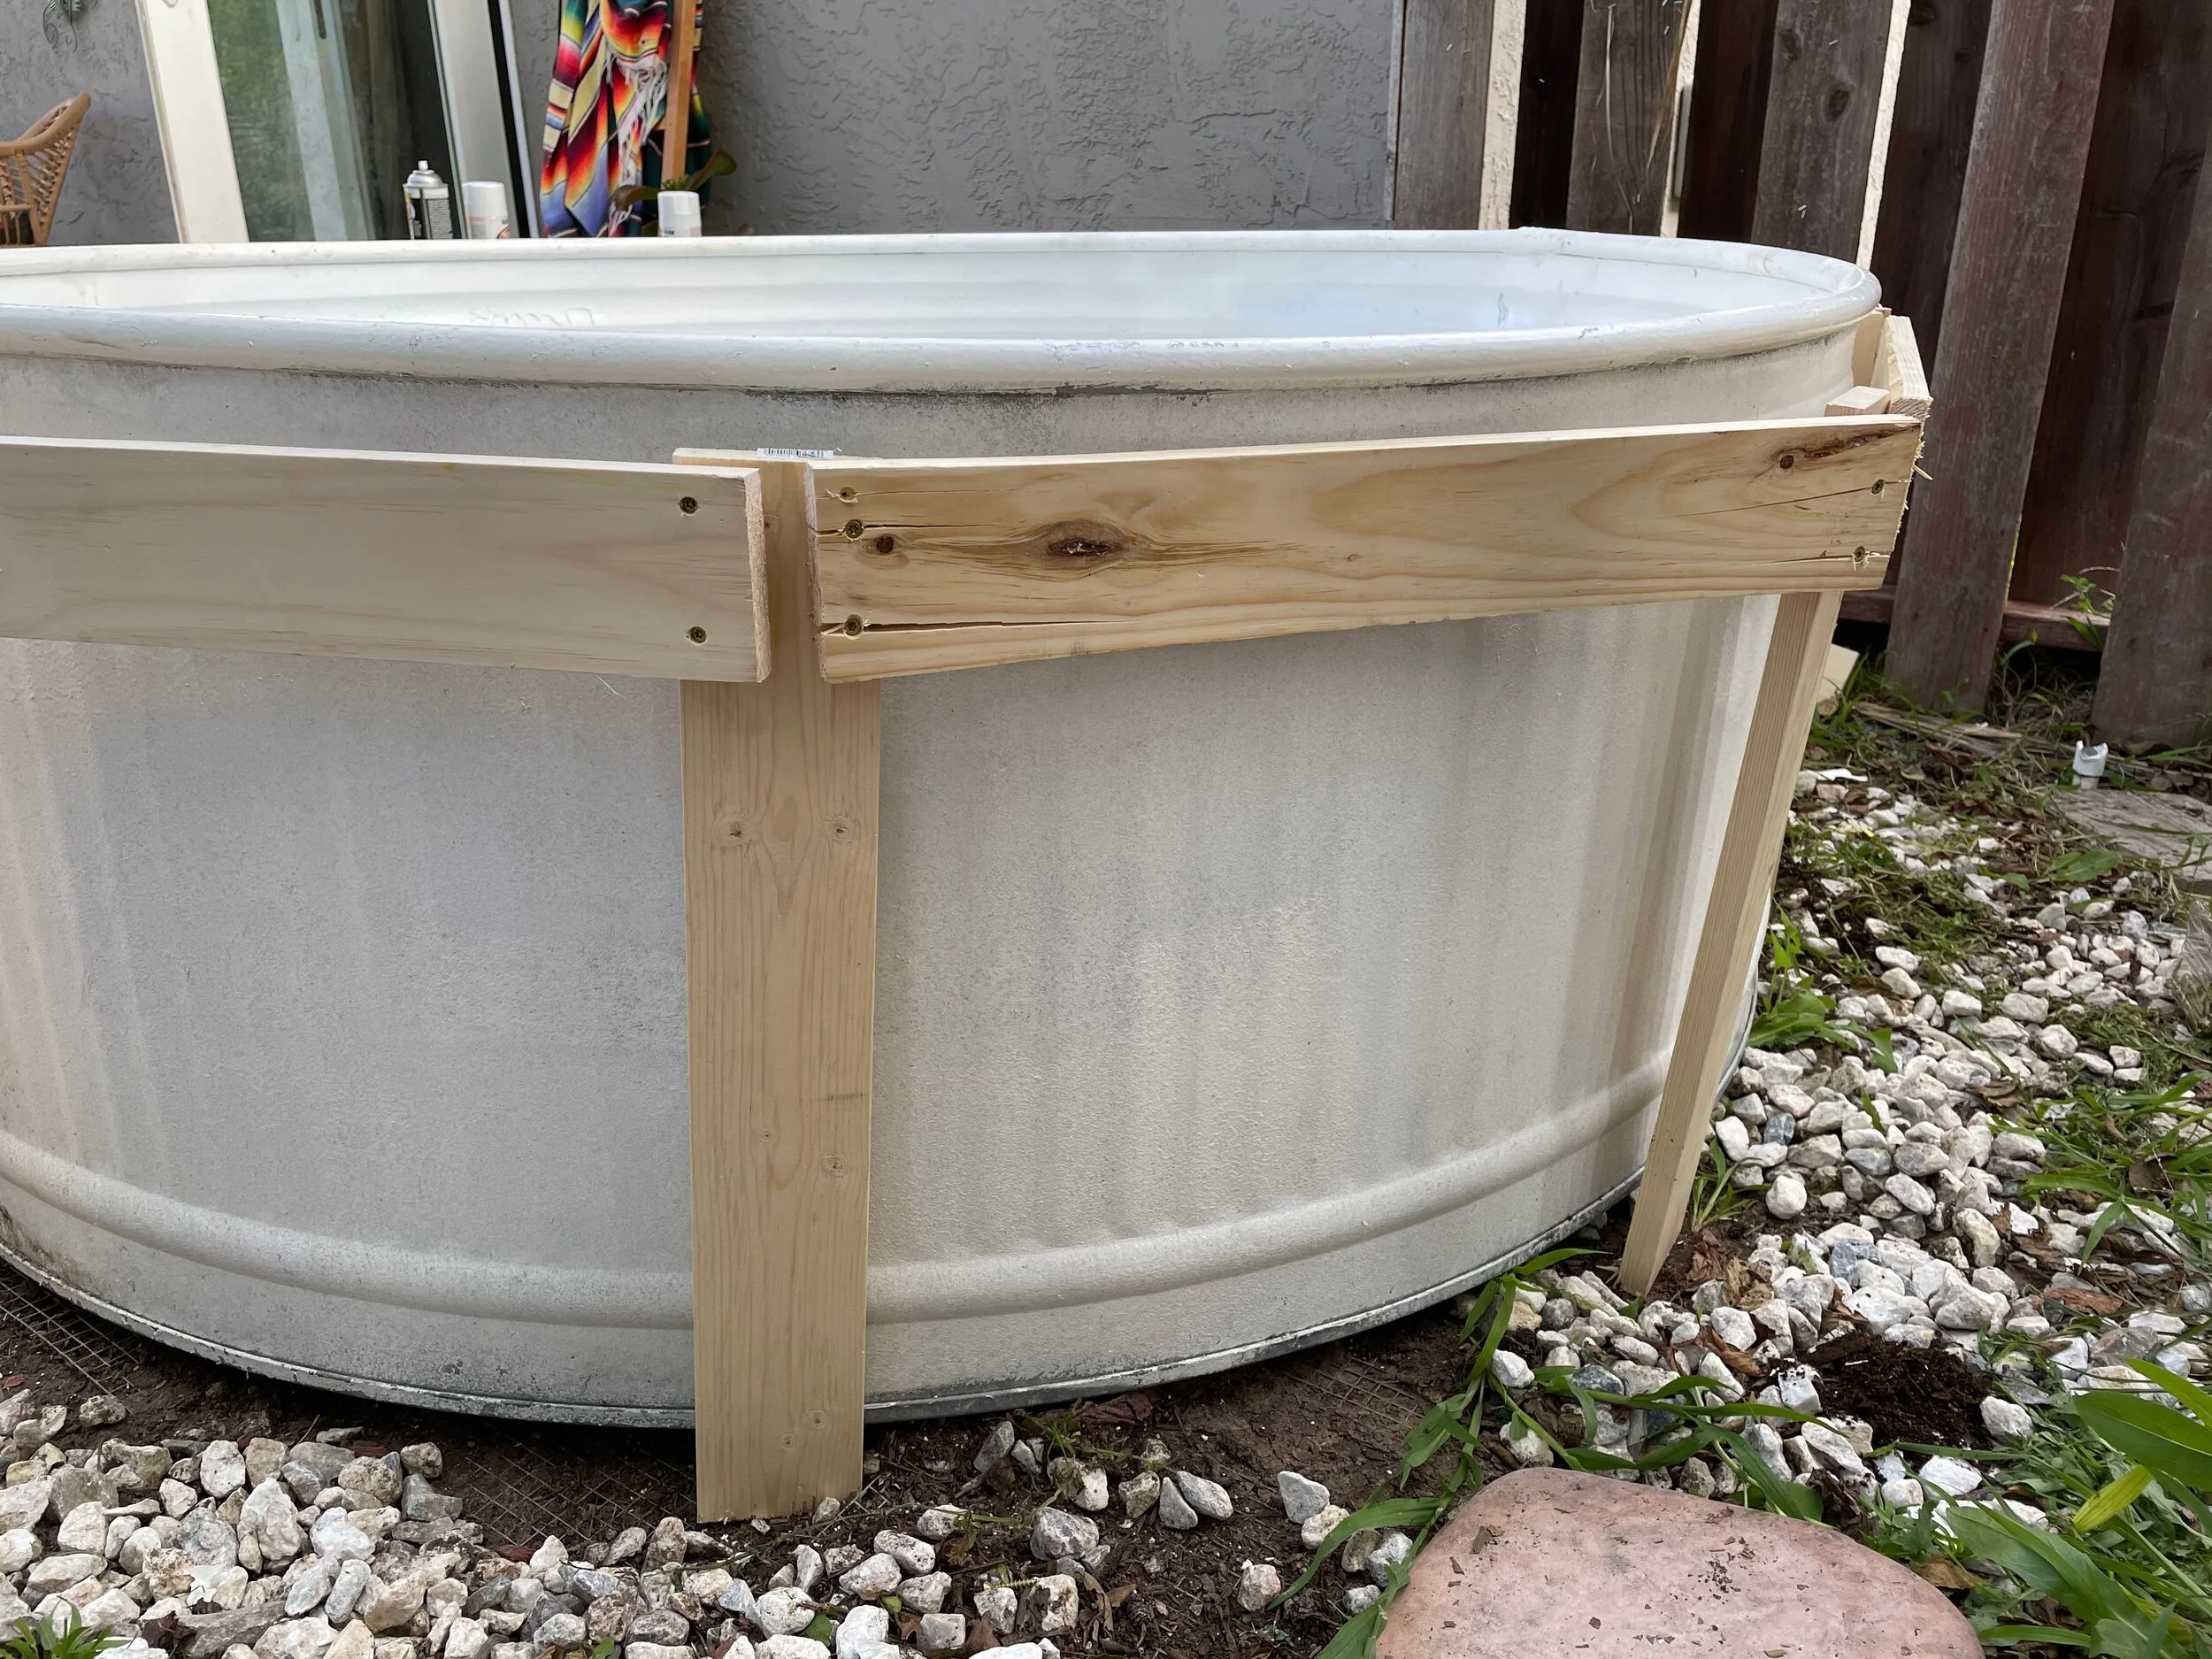
First, I started by adding the foundation. I used 1x4’s to map out where I wanted the deck to start and stop around the pool. I’m a visual learner so when I realized that the 1x4’s were not going to be enough space for the top boards to rest on and hold up weight the way I needed, I went back and added 2x4’s for support.
This is mistake number one. I know, I didn’t make it very far.
**Learning curve #1** use 2x4’s or traditional 2x6’s instead of the pictured 1x4’s
Start by figuring out how tall you want your deck to be. I knew I wanted mine to be right at the top of the pool which is 2ft tall, so I cut my 2x4 support boards to 1ft 10in. That way when the top deck boards were on it would sit around where I wanted.
Next, I added the 4x4’s where each corner of the deck was going to be. Our pool is in the corner of our yard so I took advantage of our fence 4x4’s so I only had to add one 4x4 to the front, right corner. I cut this one to 2.5ft so I could bury a little over 1ft of it and make sure it was stable. I then started adding the outer perimeter support beams and srewed them into the 4x4s.
After the outer perimeter of the deck was done, I started adding the support beams that the deck top boards would rest on. I added 6 2x4’s to the center area for the top boards to rest on and be screwed into place.
Then, After all the support beams were added, I stared laying the top boards. I laid out all the top boards and drew a line following the pool around on the bottom of the boards. I then used a jigsaw to follow the line so the boards would fit snuggly into place.
**Note* This took me a few tries to get all the boards to fit exactly how I wanted them to. I started on the line I drew and cut off little by little until I got it just right.
The hardest board to cut was the first curved board pictured here^^^ I believe it was because I was cutting more with the grain and not against it?
After that board it took no time to finish the rest. I screwed all the boards to the the support beams as I cut which helped a lot with getting it done faster. The whole deck only taking me about four days to build but realistically it should only take a day or two if you know what you’re doing and you’re not alone with a baby while building it…
The last thing I added was the steps. I bought wood stair stringers from Lowes and some stair joist hangers to secure the steps to the deck. I used a 2x10 for the top of the steps and voila. The almost finished forever changing product.
Overall, I am very satisfied with it. It does exactly what I wanted it to do and I’m always decorating it and making it better. Knowing what I know now, there is a lot of stuff I would have done differently. I’m extremely proud of myself for taking this on while my husband was on deployment. It was so much fun and extremely empowering! I can’t wait to update you all on what I add next. Now, get out there and build something!


